Lorac Cookie Recipe: The Secret to Baking the Perfect Cookie at Home
Table of Contents
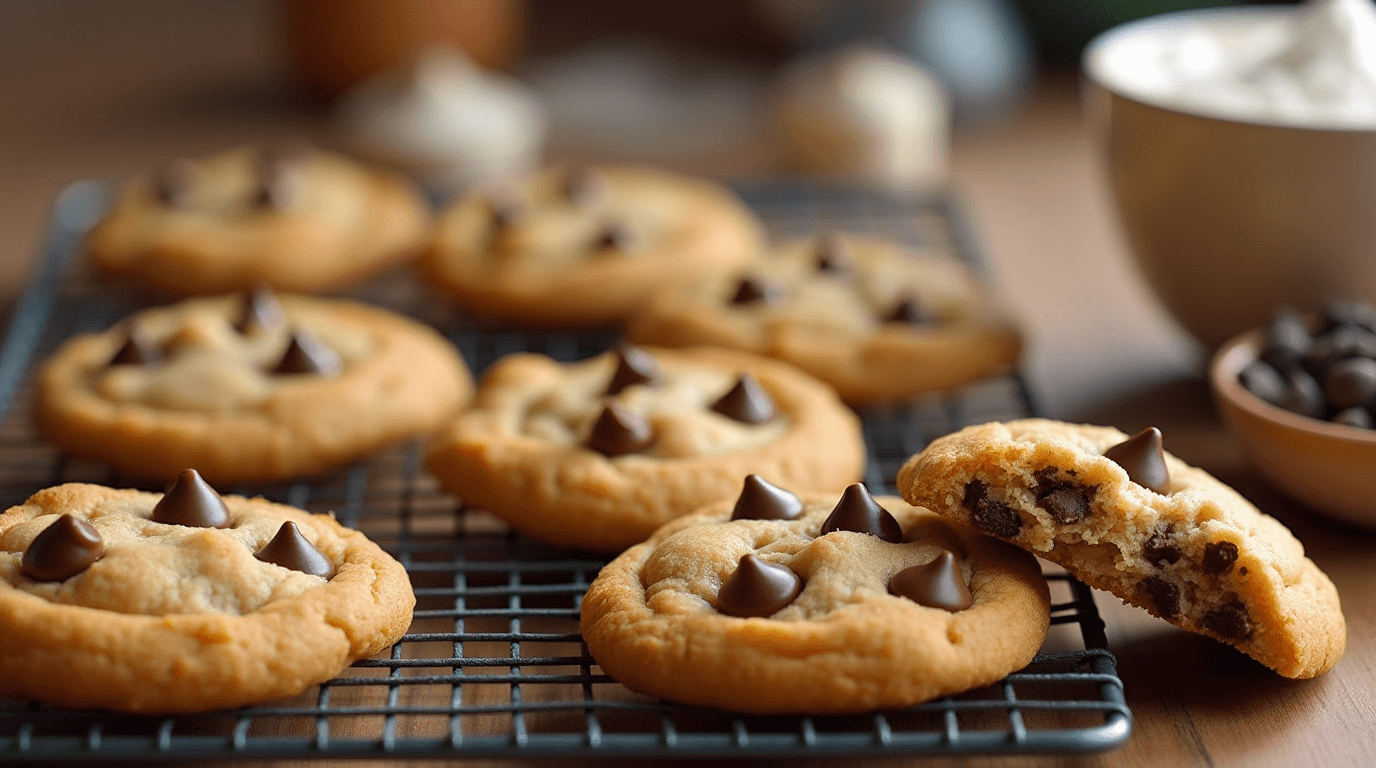
Baking cookies can be a deeply satisfying experience. There’s something uniquely comforting about pulling a tray of golden, soft cookies from the oven, their aroma filling the kitchen. If you’ve ever found yourself longing for that perfect cookie—crispy on the edges, soft in the middle, and brimming with rich, melted chocolate—then the Lorac Cookie Recipe is your ticket to cookie perfection. Whether you’re a beginner or a seasoned baker, this recipe promises a delightful outcome every time.
In this article, you’ll not only get the full step-by-step guide to making the Lorac cookie recipe but also discover expert tips that will help you bake the most delicious batch of cookies. With a few simple ingredients and just a little bit of know-how, you’ll be able to recreate these irresistible cookies right in your own kitchen. Let’s get started!
What Makes the Lorac Cookie Recipe Special?
The Lorac Cookie Recipe has become a beloved favorite among cookie enthusiasts for several reasons. Let’s take a deeper look at what makes it stand out:
1. Perfect Balance of Flavor and Texture
The magic of the Lorac cookie lies in its ideal texture. You can expect crispy edges that give way to a chewy, gooey center. This perfect balance of textures makes it more satisfying than many other cookie recipes, which can sometimes end up being either too soft or too crisp.
2. Versatile and Customizable
Another reason this recipe stands out is its flexibility. While the basic Lorac cookie recipe is undeniably delicious on its own, you can add your personal twist. Whether you prefer dark chocolate chips, white chocolate, or even nuts, you can easily modify this recipe to suit your tastes.
3. Simple Ingredients for a Flavorful Experience
The Lorac Cookie Recipe requires only a few key ingredients, and with them, you can create something magical. The combination of granulated sugar, brown sugar, butter, and eggs creates a cookie dough that’s soft yet sturdy, allowing the chocolate chips to shine.
The simplicity of the recipe also means it’s accessible for bakers of all levels, from beginners to experts. In just a few steps, you’ll be able to bake cookies that are both delicious and professional-looking.
Key Ingredients for the Perfect Lorac Cookie
To get the best results from your Lorac Cookie Recipe, you’ll need to gather the right ingredients. Here’s a breakdown of what each ingredient contributes to the recipe:
| Ingredient | Amount | Purpose |
|---|---|---|
| All-purpose flour | 2 ½ cups | Provides structure and texture |
| Baking soda | 1 tsp | Ensures the cookies spread evenly and rise properly |
| Salt | ½ tsp | Balances sweetness and enhances flavor |
| Unsalted butter | 1 cup (softened) | Adds moisture and richness, giving the cookies a soft, tender texture |
| Granulated sugar | ¾ cup | Contributes sweetness and helps achieve crispy edges |
| Brown sugar | ¾ cup | Adds a deeper sweetness and moist texture |
| Large eggs | 2 | Binds the ingredients together and helps with texture |
| Vanilla extract | 1 tsp | Elevates the flavor, making it rich and comforting |
| Chocolate chips | 2 cups | The star ingredient that gives the cookies their irresistible flavor |
Each of these ingredients serves a specific purpose. The butter and sugars work together to create a rich, tender dough, while the flour and baking soda ensure the cookies hold their shape. And, of course, the chocolate chips bring that sweet, melty bite that makes every cookie so delicious.


Step-by-Step Guide to Baking Lorac Cookies
Now that you have your ingredients ready, it’s time to roll up your sleeves and bake! Follow this simple, foolproof guide to make sure your Lorac cookies turn out perfectly every time.
Step 1: Preheat Your Oven and Prepare the Baking Sheet
Start by preheating your oven to 350°F (175°C). This ensures that the cookies bake evenly. Line a baking sheet with parchment paper or a silicone mat to prevent the cookies from sticking.
Step 2: Mix the Dry Ingredients
In a medium-sized bowl, whisk together the flour, baking soda, and salt. These dry ingredients play an important role in the texture of the cookies, so make sure they are well combined.
Step 3: Cream the Butter and Sugars
In a large bowl, beat together the softened butter, granulated sugar, and brown sugar until the mixture is light and fluffy. This step is key because it creates the foundation for the texture of your cookies. The more air you incorporate into the butter and sugar, the fluffier and lighter your cookies will be.
Step 4: Add Eggs and Vanilla
Next, add the eggs one at a time, beating well after each addition. Then, stir in the vanilla extract. These ingredients bind the dough together and add flavor depth.
Step 5: Combine Wet and Dry Ingredients
Gradually add the dry ingredients to the wet ingredients. Mix gently until everything is well incorporated. Be careful not to overmix, as this can result in dense cookies.
Step 6: Stir in the Chocolate Chips
Fold in the chocolate chips using a spatula or spoon. Make sure the chocolate chips are evenly distributed throughout the dough. This ensures that each cookie will have a perfect bite of chocolate in every mouthful.
Step 7: Shape the Dough and Bake
Scoop spoonfuls of dough and roll them into balls. Place them on the prepared baking sheet, making sure to leave about 2 inches between each one. Bake for 10-12 minutes, or until the edges are golden and the centers are still slightly soft.
Step 8: Cool and Enjoy
Let the cookies cool on the baking sheet for a few minutes before transferring them to a wire rack to cool completely. This step helps the cookies set and prevents them from falling apart.
By following these steps, you’re sure to achieve cookies that are both delicious and visually appealing. The Lorac Cookie Recipe is foolproof, so you can trust that your cookies will turn out perfectly every time.
Tips and Tricks for the Best Lorac Cookie Experience
Here are some extra tips to take your Lorac cookies to the next level:
1. Chill the Dough
If you have time, chill the dough for 30 minutes before baking. This prevents the cookies from spreading too much in the oven and helps them hold their shape better.
2. Use Room Temperature Ingredients
For the best texture, make sure your butter and eggs are at room temperature before you begin. This allows them to blend more easily into the dough.
3. Don’t Overbake
Watch your cookies closely and remove them from the oven as soon as the edges are golden. The cookies will continue to cook on the baking sheet once you take them out of the oven.
4. Customize Your Cookie
Feel free to get creative with your Lorac Cookie Recipe. Add nuts like walnuts or pecans, or use a combination of chocolate chips and chunks for an extra indulgent treat.
5. Make Ahead
You can make the dough ahead of time and refrigerate or freeze it. This is a great option if you want freshly baked cookies without all the work.
Frequently Asked Questions (FAQ)
1. What makes the Lorac Cookie Recipe different from other cookies?
The Lorac Cookie Recipe stands out due to its perfect balance of chewy centers and crispy edges, along with the depth of flavor from both brown and granulated sugars.
2. Can I use gluten-free flour for the Lorac Cookie Recipe?
Yes, you can use gluten-free flour as a substitute for all-purpose flour. Be sure to use a 1:1 gluten-free flour blend for the best results.
3. Can I use margarine instead of butter?
While butter is recommended for the best flavor and texture, you can substitute margarine if needed. However, the cookies may not have the same richness as when using butter.
4. How should I store my Lorac cookies?
Store your cookies in an airtight container at room temperature for up to five days. If you want to keep them fresh longer, freeze them for up to three months.
5. Can I add different mix-ins?
Absolutely! The Lorac Cookie Recipe is highly customizable. You can add any mix-ins you prefer, like nuts, dried fruit, or even different types of chocolate chips.
Conclusion: Why the Lorac Cookie Recipe Will Become Your Favorite
The Lorac Cookie Recipe is the ultimate cookie recipe that promises an irresistible texture and delicious flavor. Whether you’re baking for a special occasion or just craving something sweet, this recipe is guaranteed to deliver mouthwatering results every time. With its simple ingredients and easy steps, you’ll be able to bake cookies that rival those from your favorite bakery.
So, what are you waiting for? Try out the Lorac Cookie Recipe today and experience the joy of baking cookies that are as delicious as they are fun to make. You might just find yourself making them over and over again!
Call to Action: Ready to bake the best cookies you’ve ever tasted? Grab your ingredients and follow the steps of the Lorac Cookie Recipe. Don’t forget to share your results with friends and family—they’ll be asking for the recipe! Happy baking!
Have You Tried Our Recipe?
There are no reviews yet. Be the first one to write one.